Shopify Theme Development: An Experiential Guide for Shopify Merchants

Shopify’s community has grown rapidly since its inception and several paid themes are now available for merchants to kick start eCommerce ventures with Shopify. As a merchant looking to establish a unique online presence, your store must be armed with the right combination of features and functionalities to deliver the right message to the right visitor.
In several use cases, an off the shelf theme might not always cut to the chase. It eventually makes sense to hire Shopify developer and leverage custom Shopify theme development services to deliver a tailor-made user interface to your audience.
Through this article, we aim to provide some key insights into:
- How a Shopify theme works and what all elements are involved.
- How to plan for custom Shopify theme development.
- Our learnings and approach from building a custom Shopify theme for a client.
Let’s begin with a peek under the hood of a Shopify theme and understand what all elements are involved in a custom theme creation or theme customization. This will enlighten us about the structure of a Shopify theme and the workflow that comes into play for Shopify theme development.
Shopify Theme Development
A Shopify theme is a combination of different templates and other assets like images, CSS, and JavaScript files that work together to set up the user experience of your Shopify store.
The template files are built using the Liquid template engine or templating language (you can refer to it either way). For those unfamiliar with Liquid – it is an open-source template language created by Shopify and written in Ruby. These template files are responsible for loading and managing dynamic content for your store.
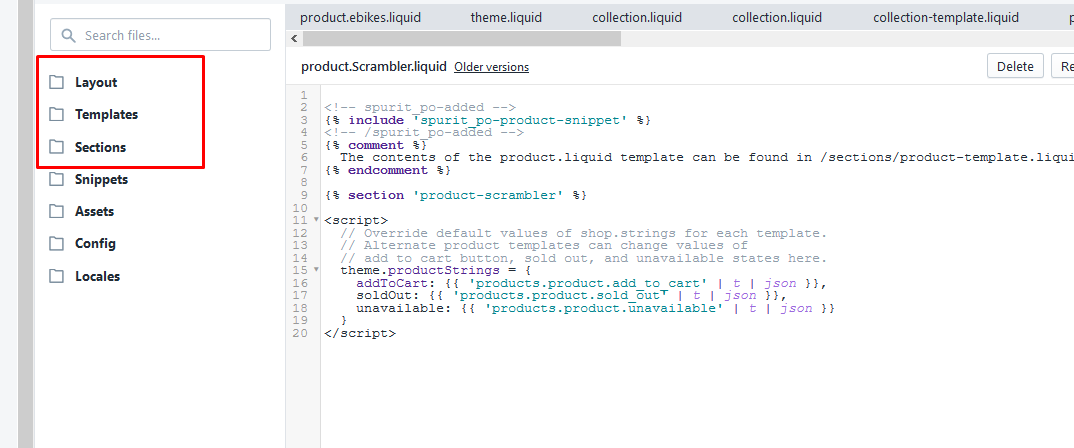
The template files are divided into three core file groups. These are:
- Theme Layouts
- Theme Templates
- Theme Sections
Theme layouts
Theme layout files are used to define the outer skin of the web pages in your theme. These includes opening and closing HTML declarations, calls to CSS and JS files, header and footer, and relevant subtemplate codes. While you can create multiple layout files, there can only be one active layout at any point in time.
There are two layout files utilized in a Shopify theme:
- theme.liquid: It remains active when visitors are browsing your website and gets inactive when users navigate to the checkout page.
- checkout.liquid: It gets active when users navigate to the checkout page. Only Shopify plus account holders have access to edit this file. All other account holders can only access the CSS of this page.
Theme templates
The template folder contains liquid files of different pages in your store. These files hold the actual content that is shown on different pages of the store. For instance, product.liquid will hold the information to be displayed on the product page. Similarly search. liquid shows the search results and collection.liquid shows the product categories.
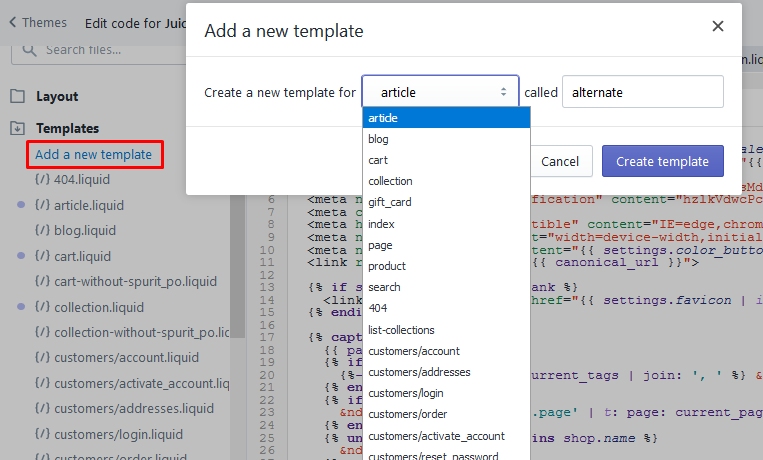
In addition to the default template files included in Shopify, there can be instances where you need to create your own template. Shopify allows you to do that by creating “Alternate templates”.
By utilizing an existing template file, Shopify helps you in saving time by providing the base structure so that you don’t have to start again from scratch.
Theme sections
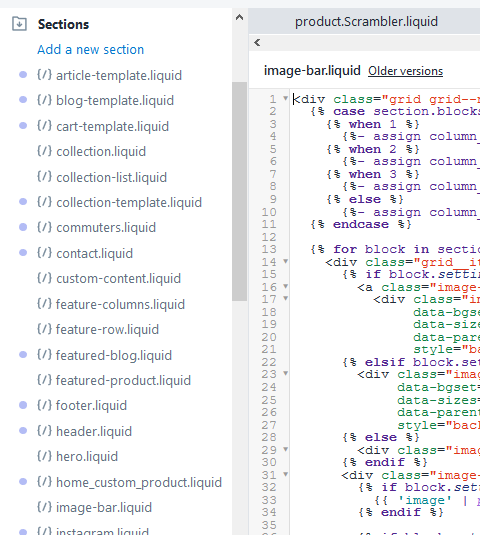
Theme sections are one of the newest additions to the Shopify template management interface. This approach facilitates a modular approach for developing page elements. Each element becomes reusable and is assigned its own settings, content and position on the page.
Some default sections included in a Shopify store are: Header, Footer, Blog posts, Featured products, Collection list, etc. In addition to this, Shopify now allows you to add new sections on any page you want and implement it using liquid.
Using sections, developers can now have complete control over the order and layout of page elements such as Contact forms, image sliders, Sign up or Sign in prompts, Testimonial sections, etc.
In addition to the template files, there are some additional file groups as well. These includes:
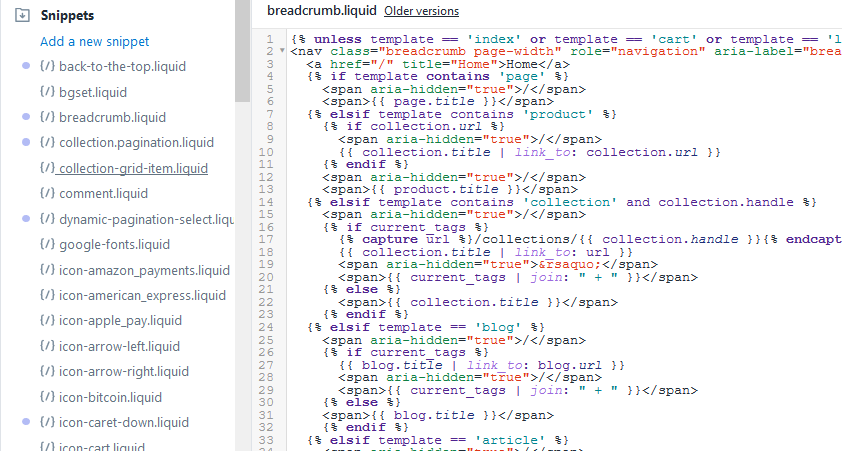
- Theme Snippets: Contains chunks of reusable code such as social media links, breadcrumbs, pagination, email campaigns, shopping cart icons etc.
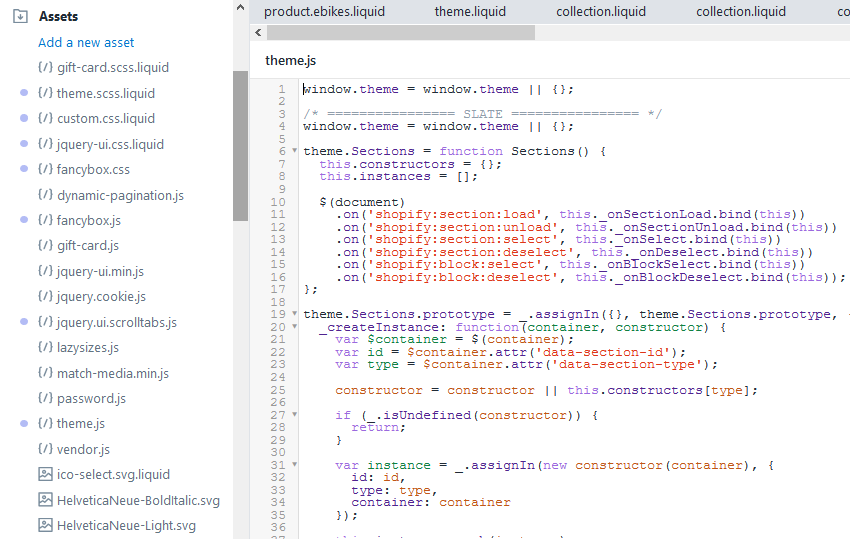
- Theme Assets: Houses all the images, JavaScript, and CSS files.
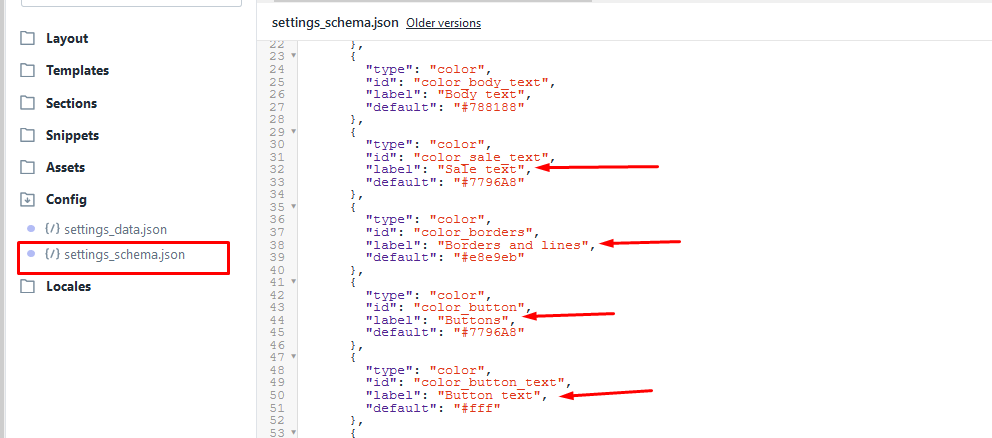
- Theme Config: Provides options to configure the looks of a theme. This includes colours and fonts of your theme. You can even create custom options of theme config by gaining access to the “settings_schema.json” file of a Shopify theme.
- Theme Locales: Includes a set of JSON files that control the translations of text strings used in a theme template file.
Now that we have an idea of how a Shopify template works, it’s necessary to be aware of few essential workflows before your developer starts working on a custom theme for your website.
- Use a starter theme: Every CMS platform has several specifications and workflows, and so does Shopify. By using a starter theme like “Debut theme” or “Skeleton theme”, you can get started within minimal time. Starter themes help to cut down development time for custom theme creation by providing some minimal styling and markup so there is no need to start from scratch.
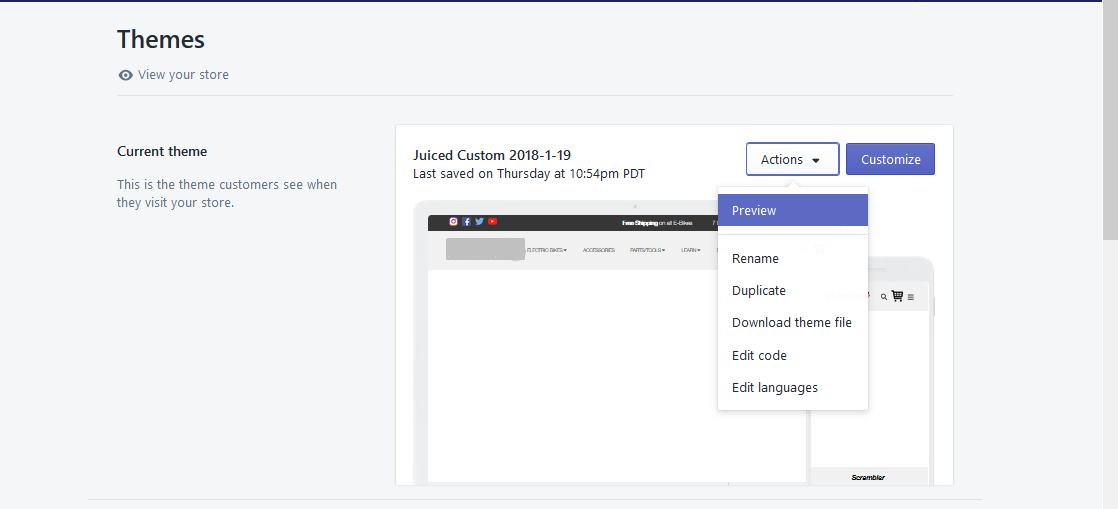
- Use Preview mode for development: As Shopify is a self-hosted platform, you can’t setup a traditional development environment as in the case of Magento or WordPress development. Instead, Shopify provides a Preview mode. This allows you to work on the theme without having to worry about publishing it everytime you want to see the output. Once the theme is ready to go live, all you need to do is publish the theme by changing modes.
- Don’t mess up the Assets folder: The Assets folder (as discussed above), holds the images, fonts, JS, and CSS files. While we don’t consider it a great approach from Shopify (not being able to groups asset files by type), this is how things work on Shopify. Make sure that all these files remain within the assets folder only as they are directly linked to the Shopify assets CDN which automatically deploys, minifies, compresses and caches these files from time to time.
How to plan for custom Shopify theme development.
Now that we understand how a Shopify theme actually works, the next step involves having a plan of action in place before actually developing a Shopify theme. This helps in getting a clear vision of what needs to be built – not just for you but for the Shopify developer as well.
By following these steps, you can get things rolling:
- Get started with some references or competitor links that you either want the theme to be inspired by or want your theme to be better than.
- Analyze all the pages on the reference website and create a list of pages that you need on your website.
- Summarize all the features that you want on each page in a detailed manner to avoid any ambiguities.
- Consult a web designer and have design mockups built for each page. A design mock-up will give you a clear idea of how the UI of your website stands against that of your competitor. In this phase, you can always make changes and enhancements to the designs without investing too much time and cost.
- Once the designs match your specifications, it is finally time to hand them over to the web developers. You can provide the designs in PSD, PNG, JPG, Sketch or similar file format.
Our approach and learnings while developing a custom Shopify theme
Our most recent Shopify theme development opportunity involved utilizing Shopify “Debut” theme(one of Shopify’s default theme), and implement a custom layout that was delivered to us in JPG format. As each E-commerce website is built upon 4 core pages, viz:
- Homepage
- Product listing page
- Product detail page
- Checkout page.
Focusing on these core pages, we will be sharing our experiences from the complex scenarios we faced during the implementation of custom layouts for these pages.
Homepage
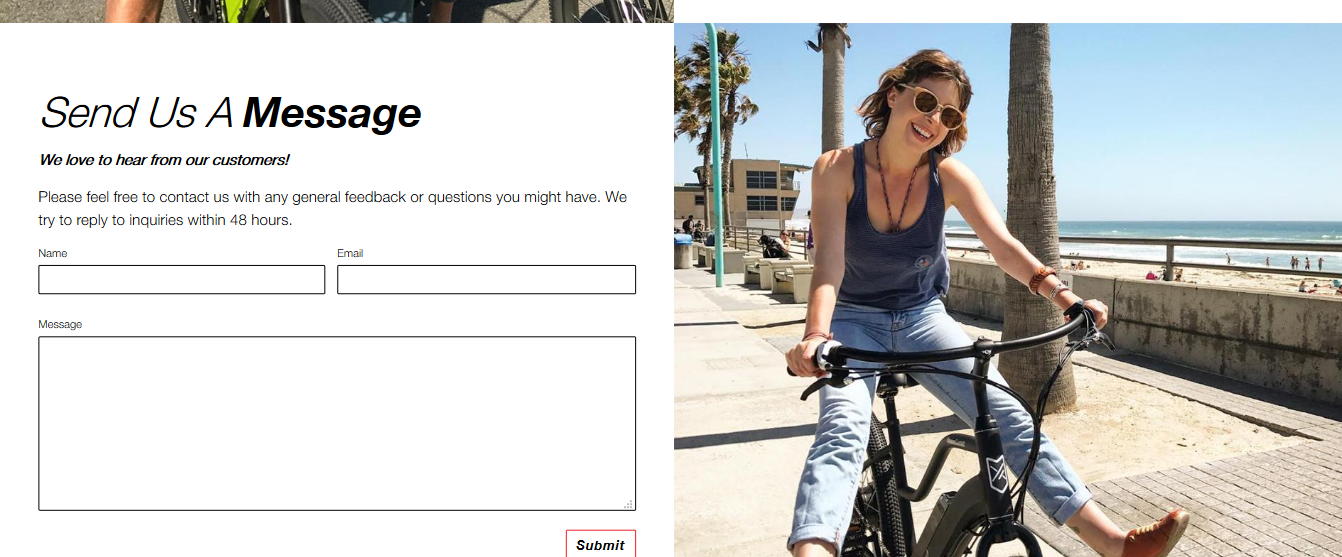
Challenge we faced: While implementing the homepage, the layout demanded a Contact form section which needs to be reusable on the Contact US page.
Our approach: As we needed to have the same contact us form in two places, we created the Contact form as a Section.
By doing so, we were able to utilize the layout file of our theme and created an IF condition. The condition simply assigned the Contact form section using the syntax: {%section Contact%} and implemented the same contact form on both Contact us page and Homepage in the div container available for the Contact form on the respective pages.
Product listing page
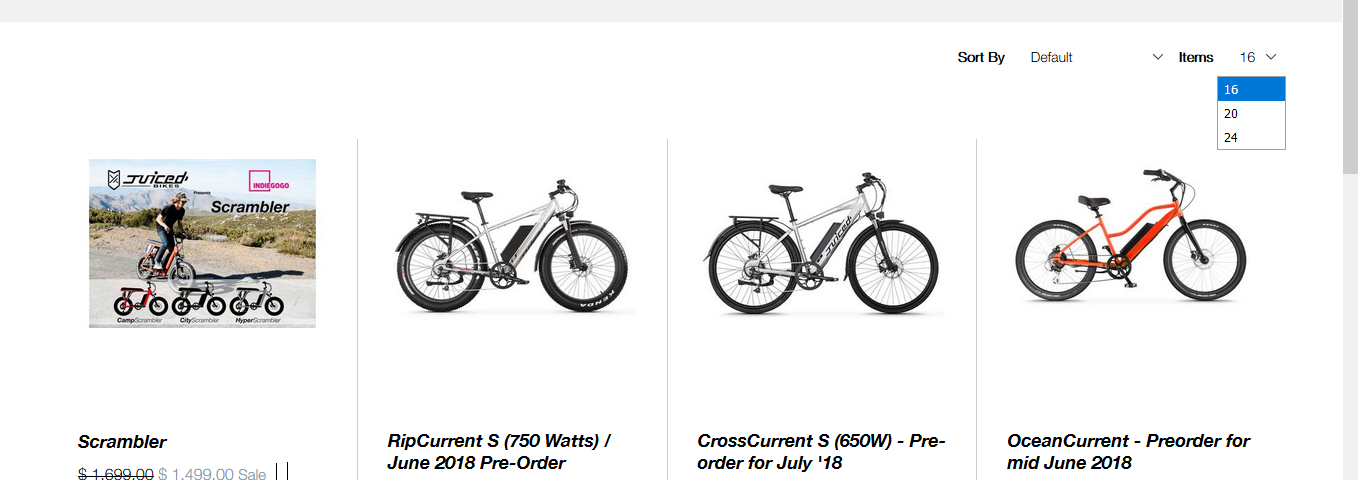
Challenge we faced: The major challenge we faced in the product listing layout was to provide an option (ITEM BY) that changes the number of products displayed on each page. Shopify doesn’t provide any option for ITEM BY in the default options and we only get options of pagination (where the number of products in a page are predefined) and sorting the products alphabetically, based on price and date when added.
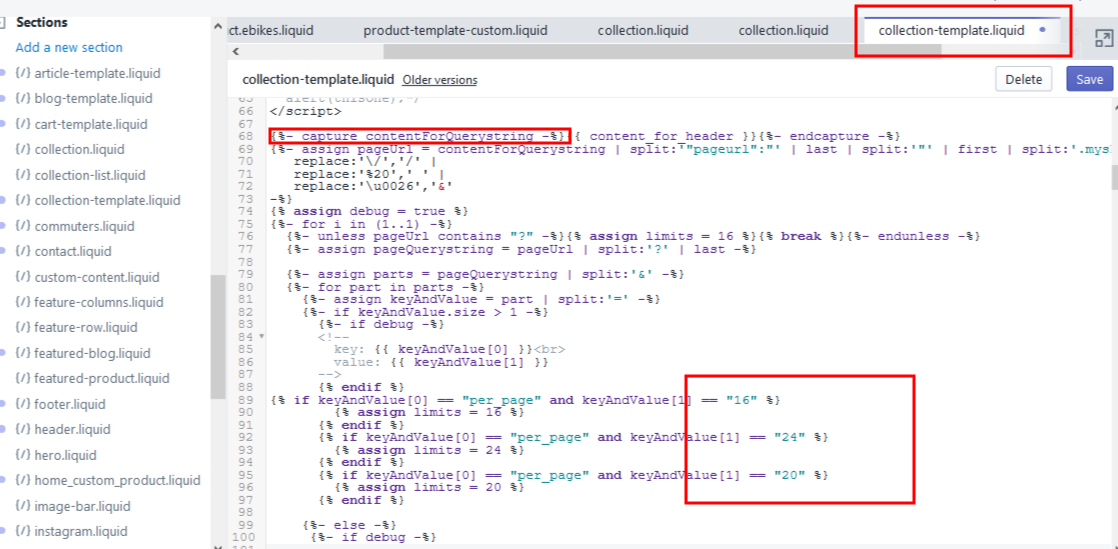
Our approach: To accomplish this, we again utilized Shopify Sections. By customizing the “collection-template.liquid” file we manually added a query parameter within the URL that passed the value of “how many products should be displayed” selection by the user. Based on this selection, we utilized the Shopify variable to{% assign limits = value%} reload the page and display the desired number of products.
Product detail page
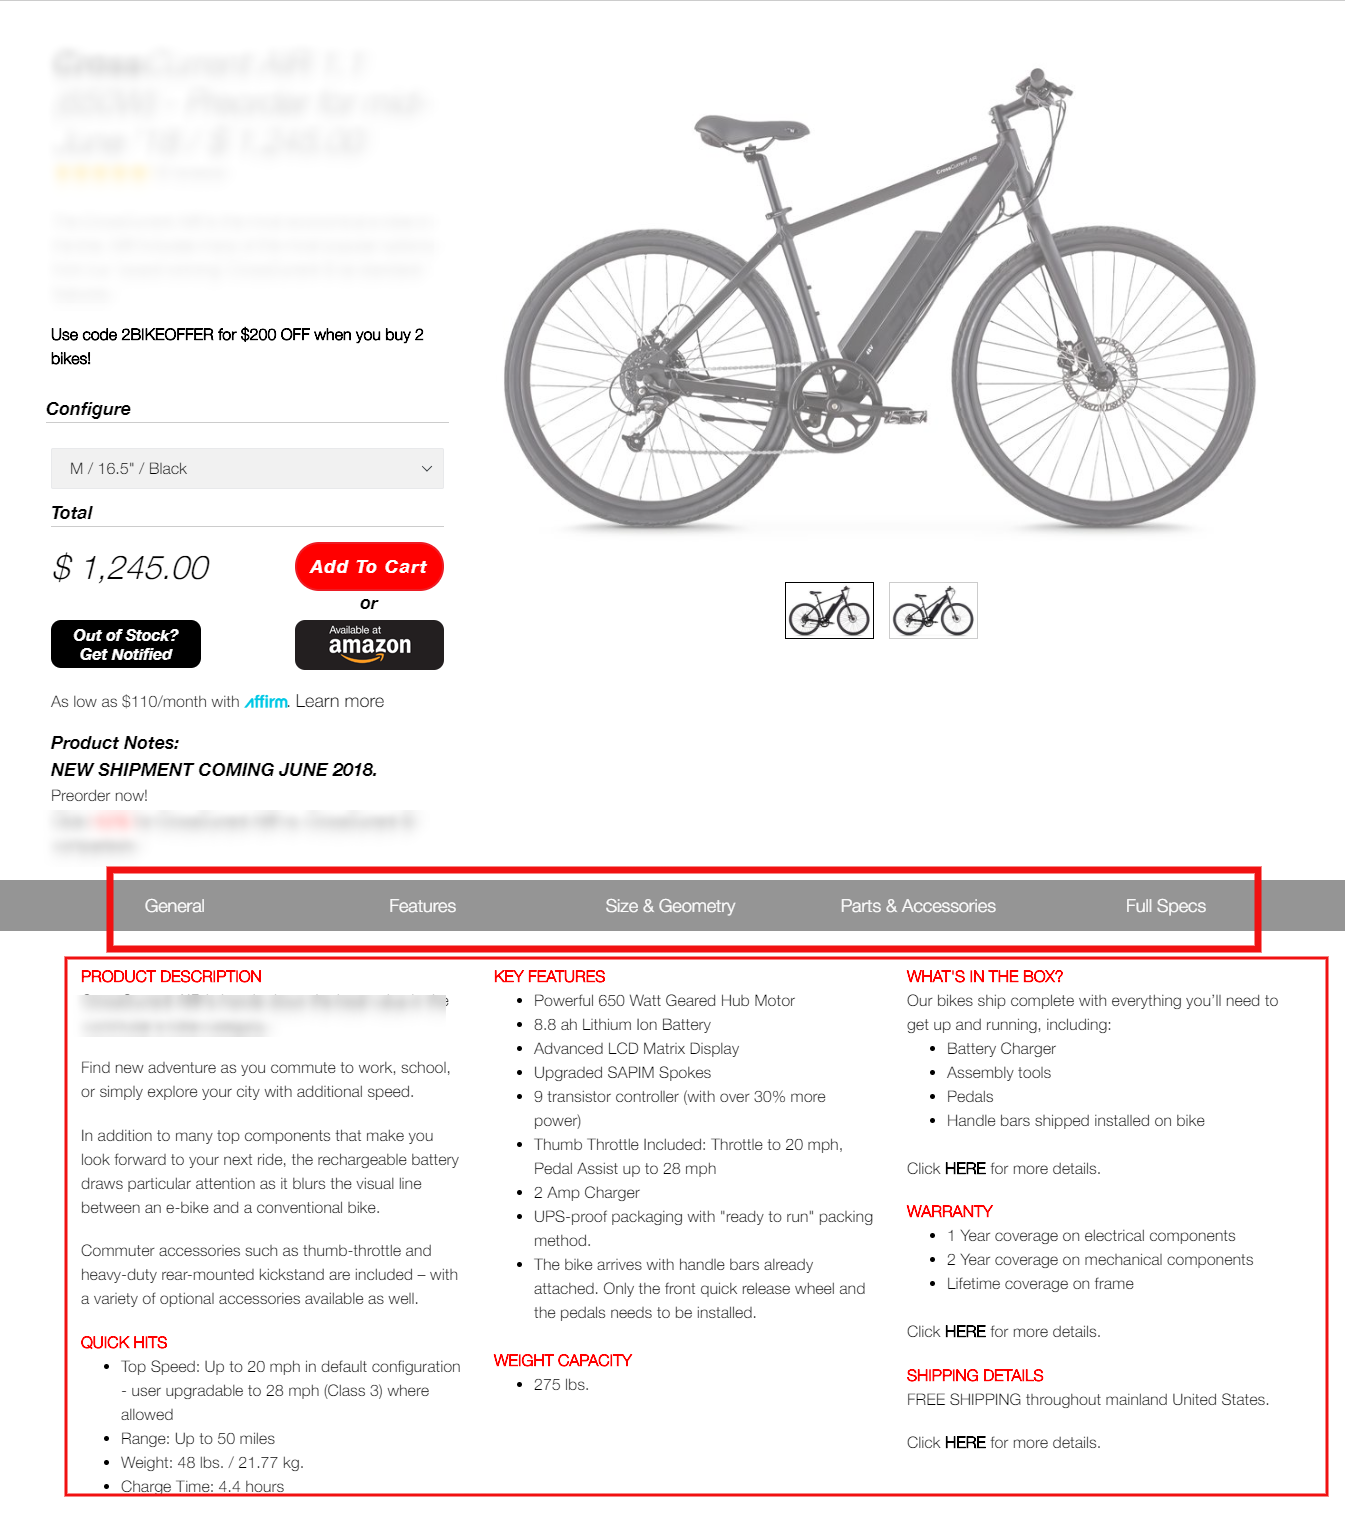
Challenge we faced: Another major challenge we faced was on the product page where a lot of custom fields were required to provide information about different aspects of the product being sold. There were as many as 55 description fields on a single product page under different sections and all these fields were required to be admin manageable.
These fields included: Product title, Image, description, Key features, size & geometry, warranty information, accessories information, and other necessary fields that were scattered throughout the page as per the layout.
Our Approach: We utilized the Metafield2 Shopify app that allowed us to add as many data fields as required on any page of the Shopify website.
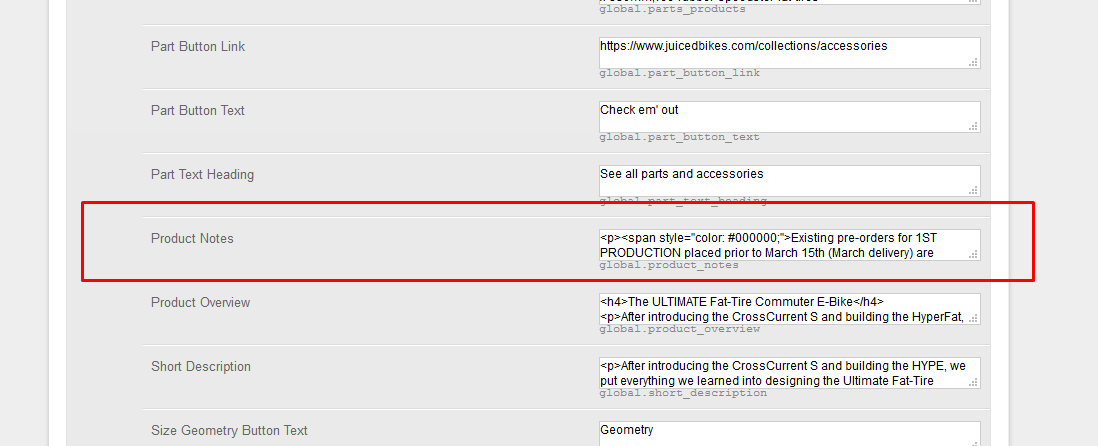
By creating the required meta fields using the Metafields 2 app and utilizing Shopify Sections, we were able to display the required content by calling the respective meta field in the div classes specified in specific sections of the product page.
For example, in the screenshot above, we called the “Products notes” meta field in <div class = “configure product_note”> using the syntax {product.metafields.global.product_notes}
Bottomline
While there are certainly some restrictions while creating custom Shopify themes (the likes of checkout customization), features like Sections have really simplified the amount of effort required to build a custom theme. We hope that with this post we were able to provide some insights into the different elements involved in creating a Shopify theme.
If you are a merchant reading this blog then we believe you will feel more confident in approaching a developer with your custom theme development requirements. If you are looking for a Shopify developer to create a custom theme for you, then get in touch with the best Shopify development company offshore. We assure reliable and unmatched guidance and development services to bring your vision to reality.
